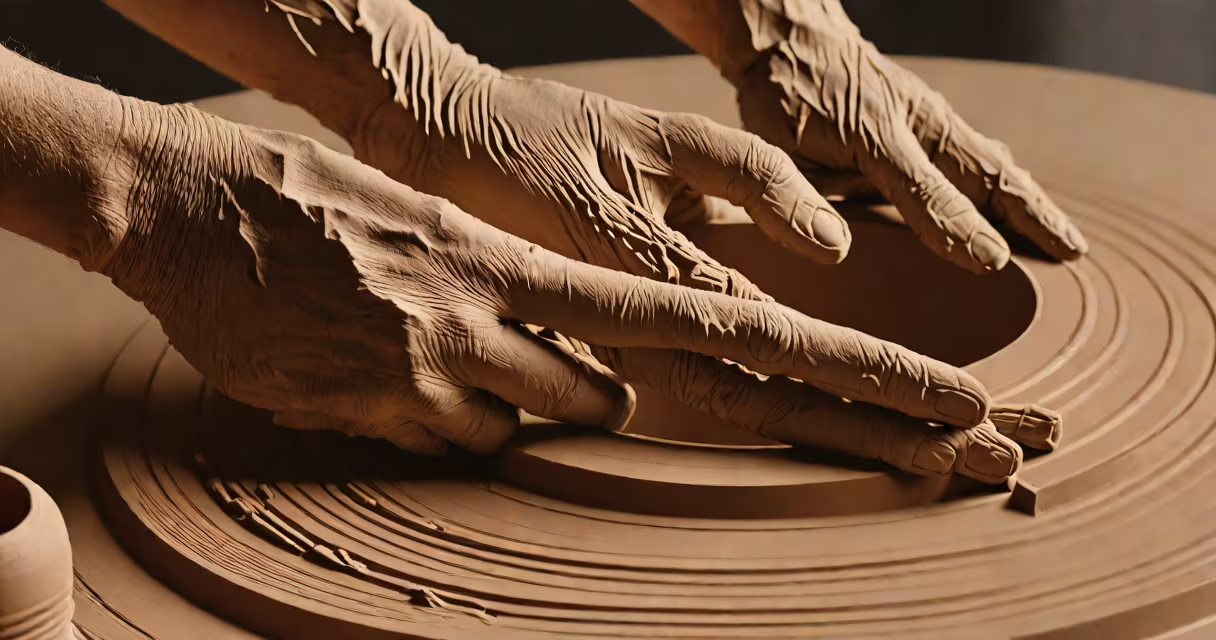
How to make your own pottery involves forming clay into functional or decorative objects using hand-building or wheel-throwing methods, then firing them in a kiln to harden. The process begins with preparing raw clay, shaping it through techniques like pinch, coil, or slab building, and ends with bisque and glaze firing to create durable ceramic ware.
Pottery making dates back over 12,000 years, with early examples found in Japan and China. Modern home studios use similar principles. Clay is shaped by hand or on a rotating wheel, then dried slowly to prevent cracking. After drying, pieces are fired at high temperatures-typically between 1,000°C and 1,300°C-to remove water and vitrify the material. A second firing applies glazes that melt into a glassy surface.
Successful pottery requires attention to moisture control. Too much water causes slumping; too little leads to cracks during drying. Most beginners start with low-fire clays like earthenware, which fire at around 1,000°C-lower than stoneware or porcelain. These clays are easier to handle and require less energy to fire.
Basic pottery supplies include clay, a work surface, tools, and access to a kiln. Home potters often begin with pre-made clay bodies such as red earthenware or white stoneware, available in 2.5 kg (5.5 lb) packs from craft suppliers. Avoid air-dry clay unless you're making non-functional art-it lacks durability and won't survive water exposure.
Essential tools include a wire cutter, wooden modeling tool, sponge, needle tool, and ribs (flat metal or wood scrapers). These help trim edges, smooth surfaces, and shape curves. A simple plastic or metal bowl serves as a mixing container. For wheel work, a kickwheel or electric wheel with a 12-inch diameter is sufficient for beginners.
Access to a kiln is critical. Kilns come in electric models (common in homes) or gas-fired units (used in studios). Electric kilns heat evenly and are safer for indoor use. A small 100-liter kiln costs $600-$1,200 and fits in a garage or basement. According to the Ceramic Arts Network, most home potters use cone 04-06 firing ranges, corresponding to 1,000-1,100°C.
| Method | Best For | Time Required | Difficulty Level |
|---|---|---|---|
| Pinch pot | Simple bowls, small vases | 15-30 minutes | Beginner |
| Coil building | Large sculptures, jars | 1-2 hours | Intermediate |
| Slab construction | Boxes, tiles, geometric forms | 30-60 minutes | Beginner |
| Wheel throwing | Functional tableware, mugs | 1-2 hours per piece | Advanced |
Start with a 1 kg ball of wedged clay-kneaded to remove air bubbles. Wedging prevents explosions during firing. Place the ball on a flat, dampened surface. Press your thumb into the center to form a hollow. Use your fingers to stretch the walls upward while rotating the piece slowly. Apply even pressure to maintain symmetry.
Once the wall reaches 1-2 cm thickness, smooth the inside with a wet sponge. Turn the pot over and smooth the base with a rib tool. Let it dry for 24 hours until it feels leather-hard-firm but still slightly pliable. This stage is called "leather-hard" and allows trimming without collapsing.
After drying, score the base with a needle tool and attach a small foot ring using slip (liquid clay). Re-wedge any scraps and reuse them. Fire the piece in a kiln at cone 06 (1,040°C) for 8 hours. After cooling, apply a clear glaze and refire to cone 06. The final result is a durable, waterproof vessel suitable for holding flowers or water.
One frequent error is uneven drying. Pots left in direct sunlight or near heaters crack as different parts shrink at varying rates. Always cover drying pieces with plastic or a damp cloth to slow evaporation. A cracked pot during bisque firing indicates poor wedging or trapped air-always knead clay thoroughly before use.
Another mistake is applying glaze too thickly. Thick glaze layers run during firing, creating drips or pooling. Apply thin, even coats using a brush or dipping method. The Ceramic Arts Network recommends applying two light coats rather than one heavy one.
A lesser-known issue is thermal shock. Even after firing, sudden temperature changes can cause cracks. Always allow kiln-fired pieces to cool completely before handling. A 20-minute cooldown period reduces stress on the ceramic structure.
Home potters use handmade ceramics for daily use-mugs, plates, planters-or artistic expression. Many report improved focus and reduced anxiety during the tactile process. A 2021 study published in *The Journal of Positive Psychology* found that engaging in manual crafts like pottery lowered cortisol levels by 12% compared to screen-based activities.
Community studios offer shared kilns and equipment. In Portland, Oregon, the Clay Studio provides drop-in access for $15/hour and hosts workshops on underglaze painting and raku firing. These spaces lower entry barriers for beginners who lack space or equipment.
Some potters repurpose kitchen waste into functional art. For example, a 2023 project by artist Maria Chen used discarded coffee grounds mixed with clay to create biodegradable planters. The mixture fired at 950°C produced porous vessels ideal for seedlings.
One personal observation: during a weekend workshop in Asheville, North Carolina, I attempted my first wheel-thrown mug. My first attempt collapsed after 30 seconds. I adjusted my centering technique-using slower rotation and consistent downward pressure-and succeeded on the third try. The process demands patience, not perfection.
Understanding how to make your own pottery begins with mastering the basics: wedging, shaping, drying, and firing. With practice, even complex forms become achievable. The key is consistency-not speed. Each piece teaches you about clay's behavior, your own touch, and the quiet satisfaction of creating something lasting.